
Tool and Die: Session 3
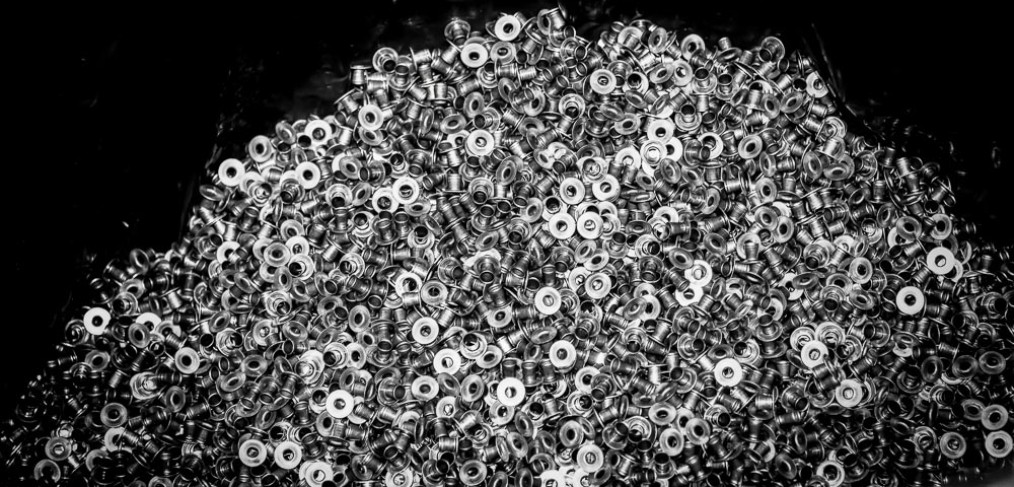
After a conversation I had with Michele, the bookkeeper, and Paul, the president, I decided that I would try to highlight the production of the Shop’s biggest product, the eyelet used in the Ziggity watering systems for chickens. Approximately eight million pieces of this are produced annually for the customer. That means there is at least one machine dedicated here and is almost always running to meet quotas.
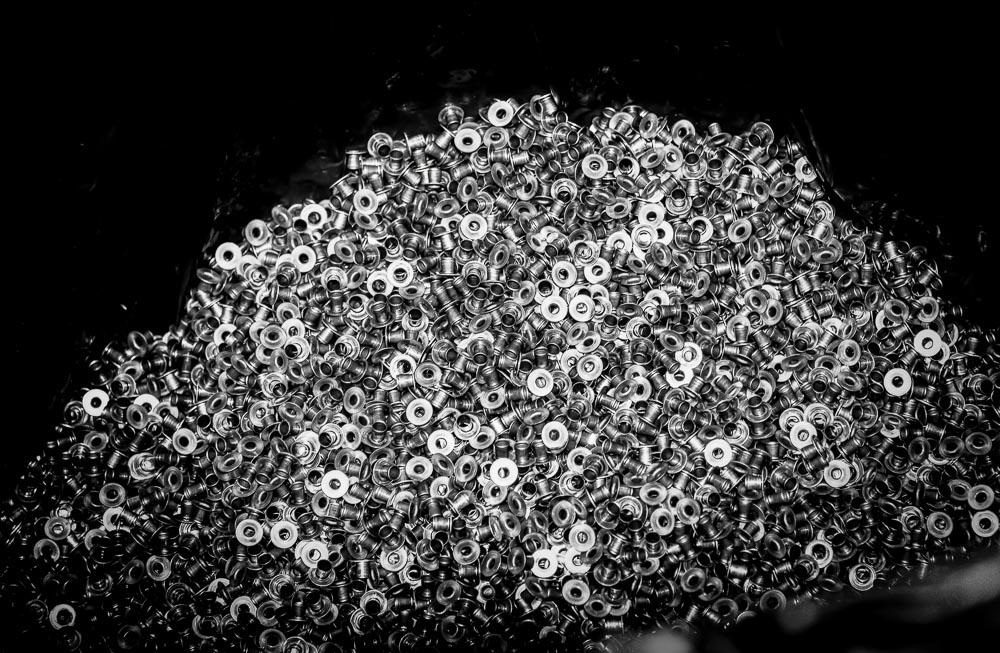
Due to the high volume produced, parts tend to wear and break down. Sometimes a die or a punch will suffer a fracture of some kind.
When this happens, the tool makers need to replace these parts with spares, make machine adjustments, or remake one of these from scratch again.

I decided to spend Session Three on the shop floor following Mike and Pete, the tool makers, on their rounds maintaining the presses. The challenge for me was trying to capture images in existing light while both men and machines were in motion. For this session, I brought my Nikor 28-300mm lens. I found I was constantly changing distances and had to react quickly from closeup mode to medium in order to capture the activity. I felt I would not have time to change lenses and react to the scene demands.
I used a tripod, which at times I folded the legs to act as a monopod. Sometimes I used on-camera flash, most of the time I did not. The shooting space was difficult due to material feeds and tool maker operations. I tried to stay out of the way.
The presses were an interesting combination of motion, light and shapes. Below is the eleven-stage Ziggity water feeder eyelet process that one press must perform.
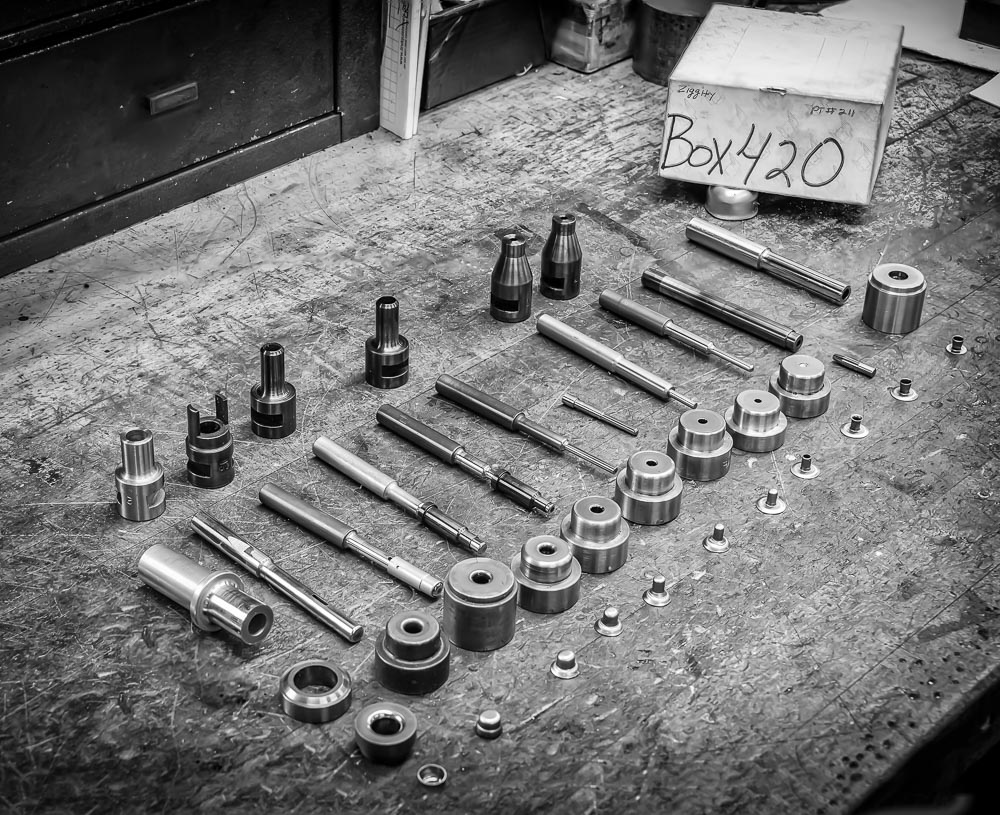
As seen in the picture above, from left to right, here are the stages.
- Cut the blank from the raw material and form a cup.
- Perform the first draw.
- Perform the second draw.
- Perform the third draw.
- Perform the fourth draw.
- Perform the finish draw.
- Qualify the flange ID and radius.
- Pierce the eyelet (make a hole at the bottom).
- Make a flair over the pin.
- Finish the flare.
- Trim the final product.
The purpose of the draw stages above is to control the inner and outer diameters.
Each press uses two large cam shafts, one on the top to drive the punches downward into the material, and one cam on the bottom to drive the die up to cut into the material being punched downward to form the product.
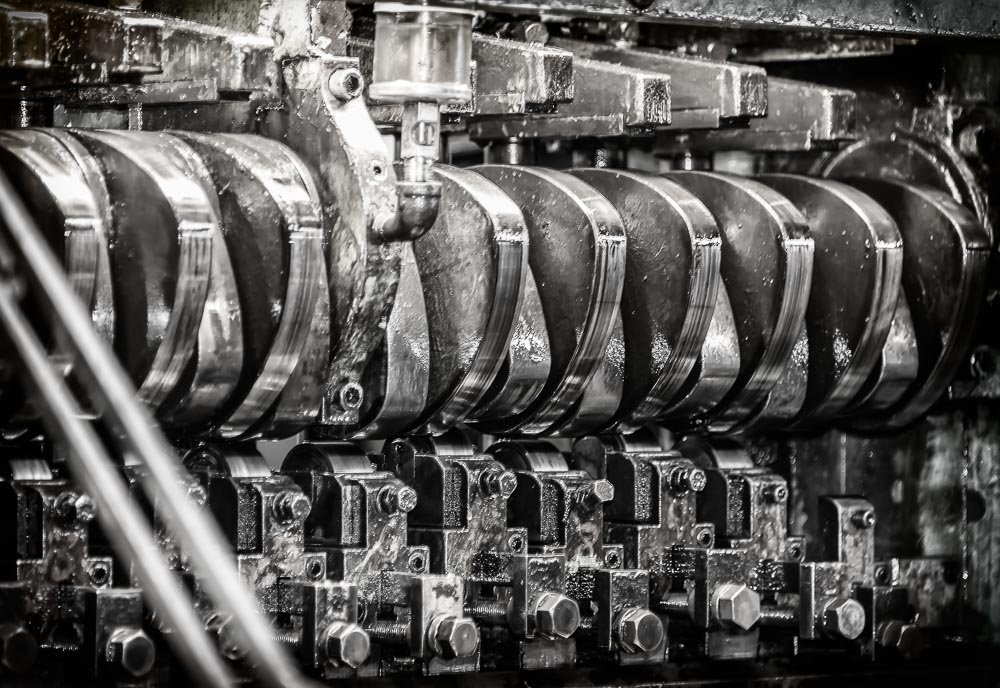
Therefore, the process above uses eleven punch/die combinations driven by the cam shafts. A series of Transfer Fingers are used to move the eyelet from one punch/die stage to the next.
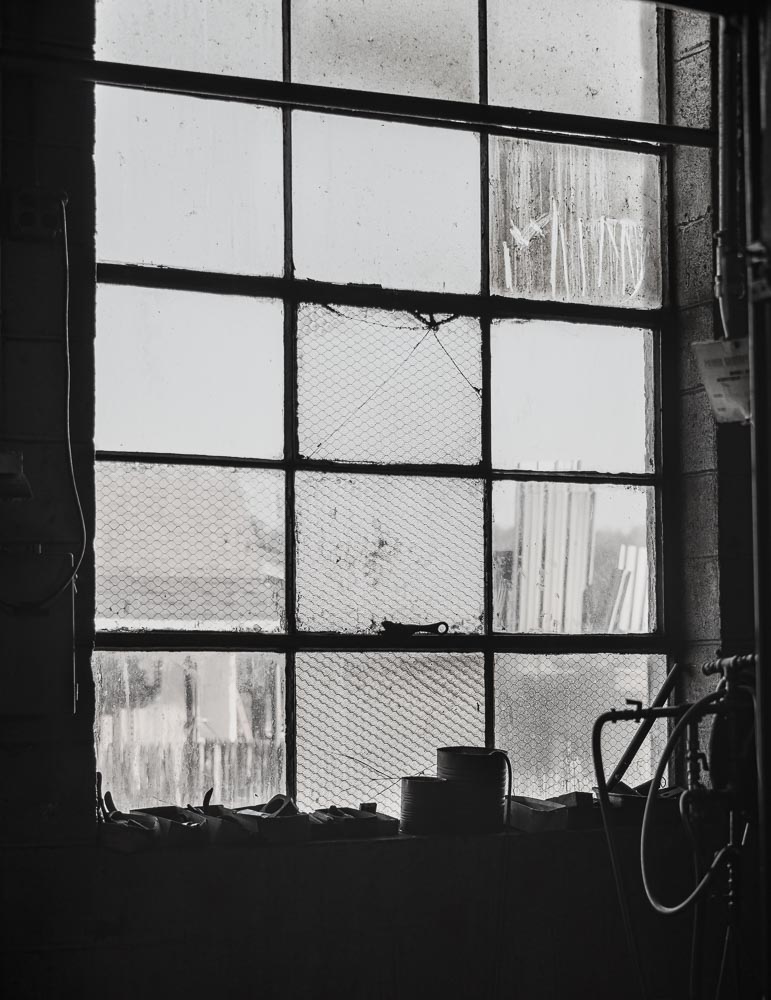
When I wasn’t photographing the Ziggity production, I was wandering around capturing whatever caught my eye. For example, I caught a few shots of Al, Mike’s brother and press operator, working the machines. Other times the light coming through some of the few shop windows made for interesting explorations between light and shape.
Mostly, I fell into my zone and lost track of time and basically had a ball with this project!
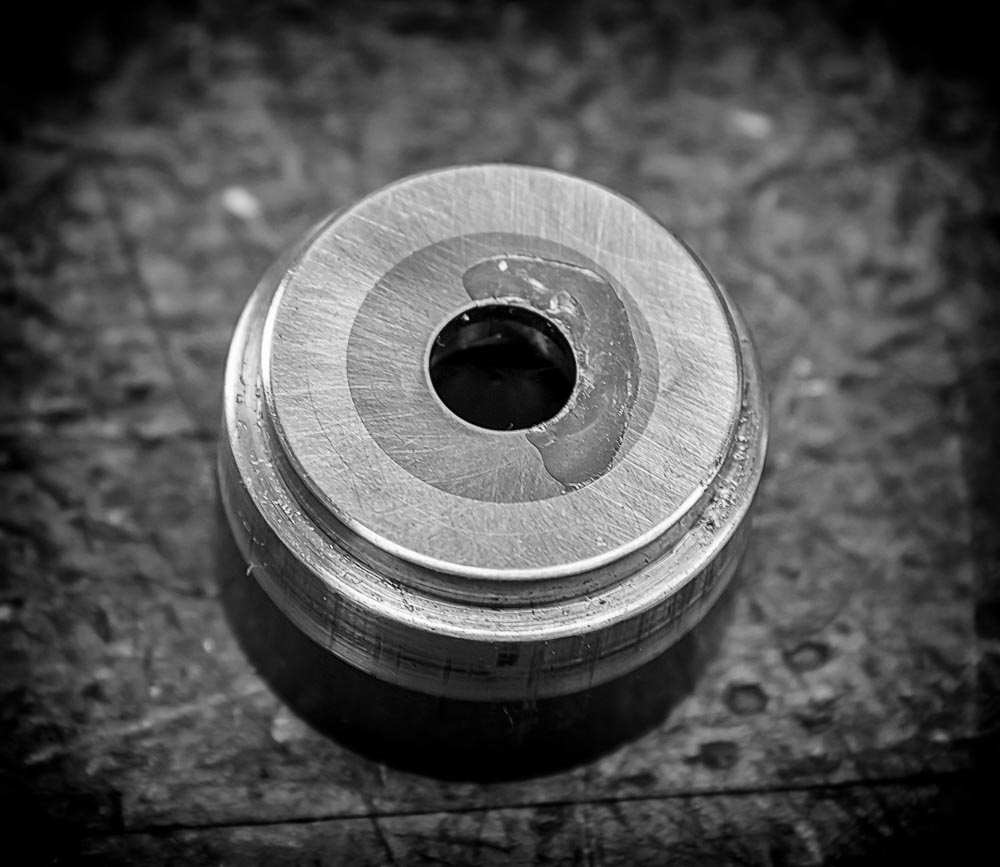
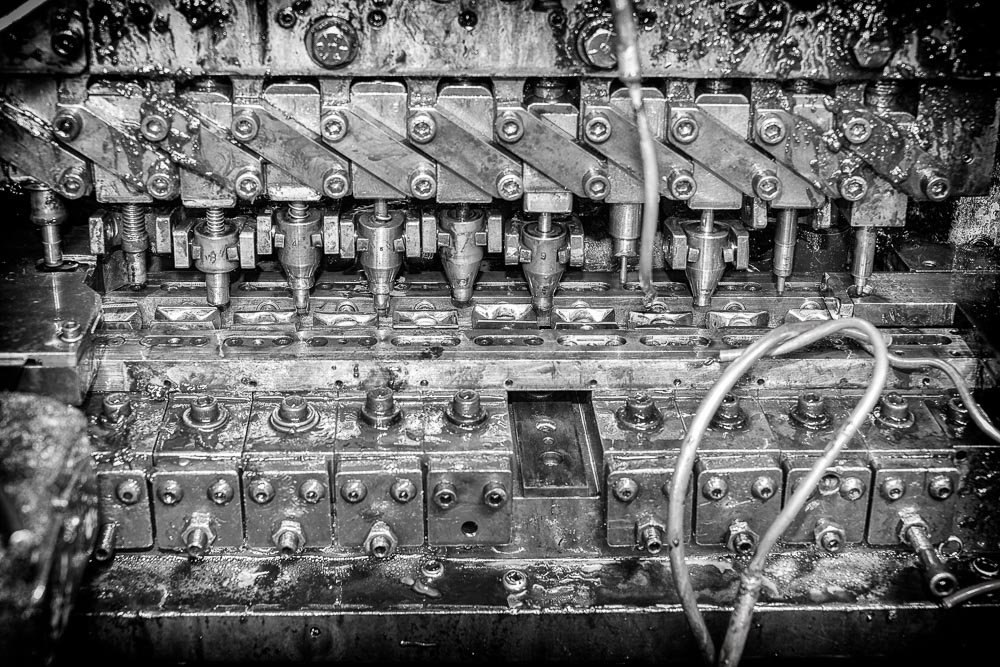
Below is a shot of the Ziggity press, minus one of the die blocks.
Stop by my blog again during the upcoming weeks as I continue to report on the progress of my new project!
Enjoy!