Tool and Die: Session 1
Today was the day I visited the shop to begin my work. There are six employees and two administrative. After my friend took me around to meet the guys, he left me with Mike, one of the toolmakers, who gave me a tour of the shop and necessary background information that describes its high-level purpose and operation. He told me there use to be as many as 34 people and three shifts years ago, but the economy and industry changes forced many cutbacks.
This shop is an eyelet manufacturer. Eyelets are metal rings with a flange surrounding the hole. The flange is a structural feature used to strengthen, guide, or join a wide variety of elements. This extends into a barrel that is inserted through a hole in the material and is then set by machine. The barrel either rolls or spreads out, grabbing the material and strengthening the hole.
Some examples of the eyelets made in the shop that you might see are:
- The Ford F150 ignition switch eyelet (the silver ring surrounding the area where you insert your ignition key)
- Door eyelet (the silver ring surrounding the area where you insert your key to open your car/truck door)
Other eyelets they make are used in the Briggs and Stratton motors for lawn mowers, the screw socket in lamps that accept the screw in light bulbs, and an eyelet cup that is used in the base of emergency flares.
But the largest customer they have uses an eyelet made to allow a chicken or turkey to peck at to get water in large chicken watering systems. The shop makes approximately eight million of these annually!
The basic shop layout consists of:
- Administrative office.
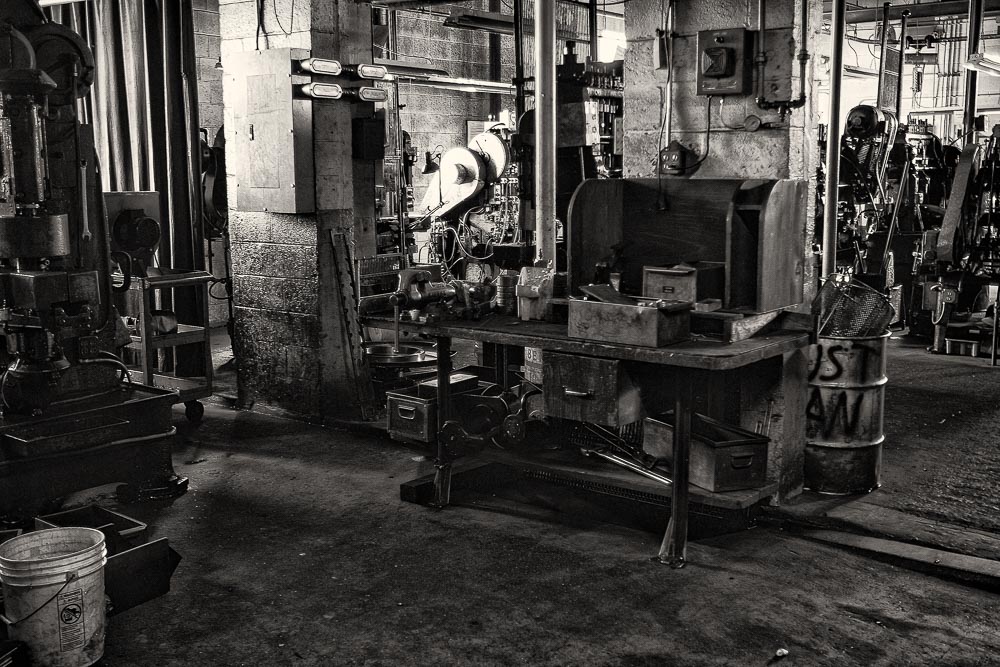
- Tool Room where the punches and dies are created from scratch for a particular product.
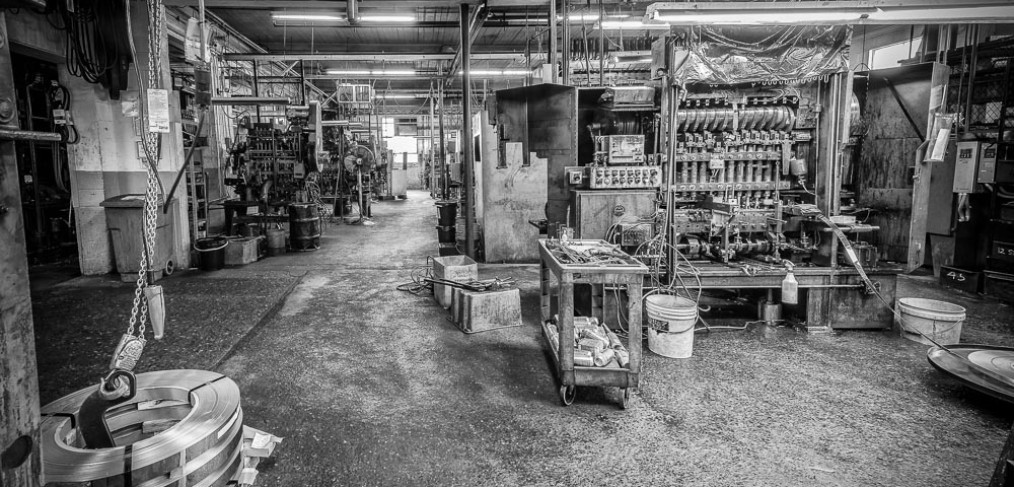
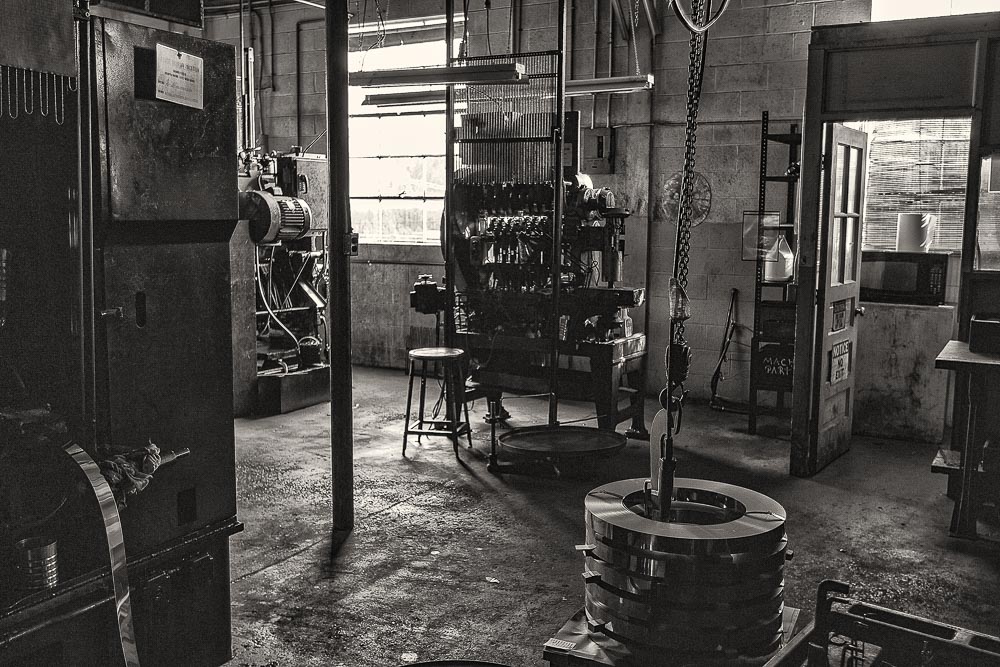
- Shop floor where the presses are located.
- Quality Assurance area where product testing is conducted to ensure specification compliance.
- Shipping/Receiving where the finished products are packaged.
- Material supply area where the coils of raw material for the various products are stored until needed.
The shop personnel consists of:
- Two eyelet tool makers
- One tool room tool maker
- One press operator
- One quality control manager
- One shipping/receiving manager
- One bookkeeper/office administrator
- One president/shop boss
The main shop floor has thirty four independent cam operated presses (ICOPS). Typically, a press needs to be setup with a set of dies and punches. The punches force part of the metal fed to it into a die which is used to cut away the metal into a necessary shape at that particular stage of the pressing.
Here is a typical overview of this pressing called the drawing process:
1) First, a coil of raw material, typically aluminum, is fed into a high speed transfer press.
2) The machine stamps out a Blank, usually a circular flat,coin-like shaped piece of material as the starting point to form the desired end product.
3) The Blank is then transferred by what is called transfer fingers (they actually look like fingers!) into the cup operation.
4) The Blank Holder applies even pressure on the Blank as the Cup Punch Draws the material into the Cup Die thus eliminating wrinkles in the Cup.
5) The Cup is then transferred into the First Draw Operation where it is drawn to the correct Inner Diameter, Outer Diameter, and Over All Length.
6) Next, the shell is transferred into the Pierce Operation, if a hole is needed at the bottom of the eyelet, where the specified dimension of material in the bottom of the shell is removed.
7) Finally, the shell is transferred into the Clip Operation where the excess material will be removed leaving you with a perfectly finished product.
That was it for my first formal shop session. I decided to limit each session to less than three hours, mostly mid mornings, two days per week. This would keep my distractions to a minimum and allow the guys enough time for them to catch-up in their daily workloads. The shop is open from six to three-thirty, Monday through Friday.
All I did for this first session was listen, ask questions, and take notes. I did not bring any of my camera equipment. I felt I needed the overviews and walk-throughs in order to get a feel for the type of work they do and what is important to them. It was also a chance to learn shop-specific vocabulary. All of this information was critical for me to begin forming my ideas on how I wanted to approach this project photographically.
Overall, I was most impressed with the professionalism and dedication and enthusiasm each member of the shop team demonstrated toward their individual part in this manufacturing process. These were not just jobs to them, these were careers. After all, these professionals worked there between fifteen and over forty years. When asked why they stayed so long, the answer was always the same: they were part of a family. The grass is not always greener at another company, especially since they would lose their seniority and be forced to join the union. The way they all feel epitomizes what it means to be Made In The USA!
Below are a couple of scenes from the shop floor.

Stop by my blog again during the upcoming weeks as I continue to report on the progress of my new project!
Enjoy!

