Tool and Die: Session 5
This next session was spent with Warren, the Quality Assurance person.
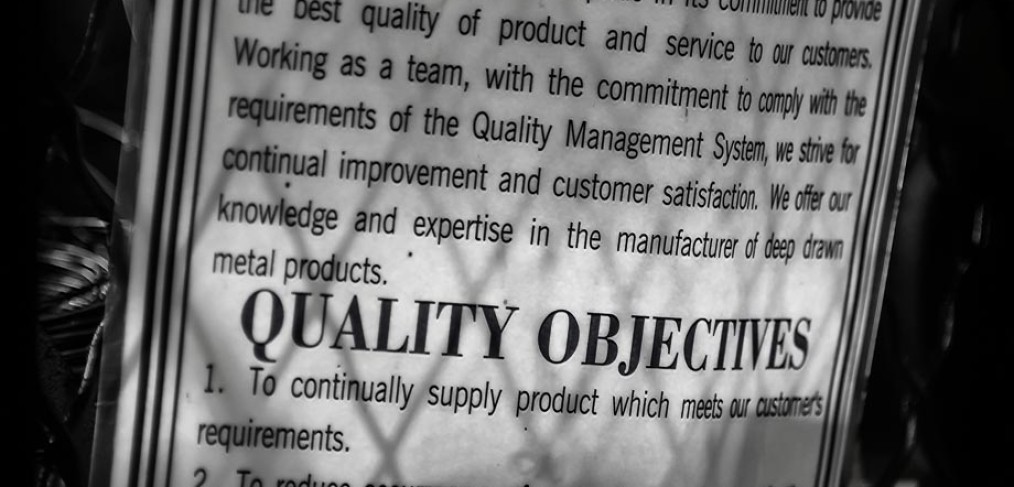
Quality is very important to the Shop, which is why they were ISO 9001:2008 certified . This certification must be renewed every three years. Annual audits review the Shop’s manufacturing procedures and testing records. Warren says they are dedicated to following the policies, procedures, and customer specifications to create the highest quality deep drawn metal stampings available. Under Statistical Process Control (SPC) methods, their precision inspection equipment, calibrated and traceable to the National Institute of Standards and Technology, assists in the measurement of all dimensional requirements to tight tolerances.
Within Warren’s office are shelves of stacked, numbered boxes that contain test samples or reference points for the next time that job is needed to be repeated.
On his computer are stored the inspection sheets for each job, while binders hold the customer job order requirements, e.g., no burring, must be polished, etc.
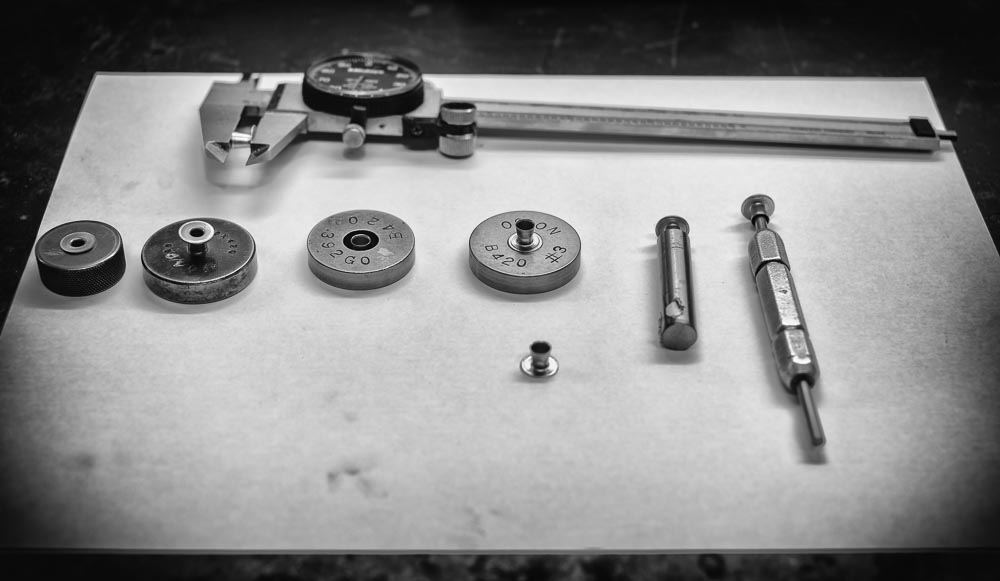
These boxes also contain samples of the sets of gauges used to test customer specifications and tolerances to determine what is called the “Go no-go” decision points. The image below shows the set of gauges used to determine product quality for the Ziggity watering eyelet. From left to right are two gauges to determine the diameters oat the bottom of the flare, two gauges for the upper flare diameters with go/no-go indications,one eight degree angle gauge, and finally the plug gauge to determine overall go/no-go test results.
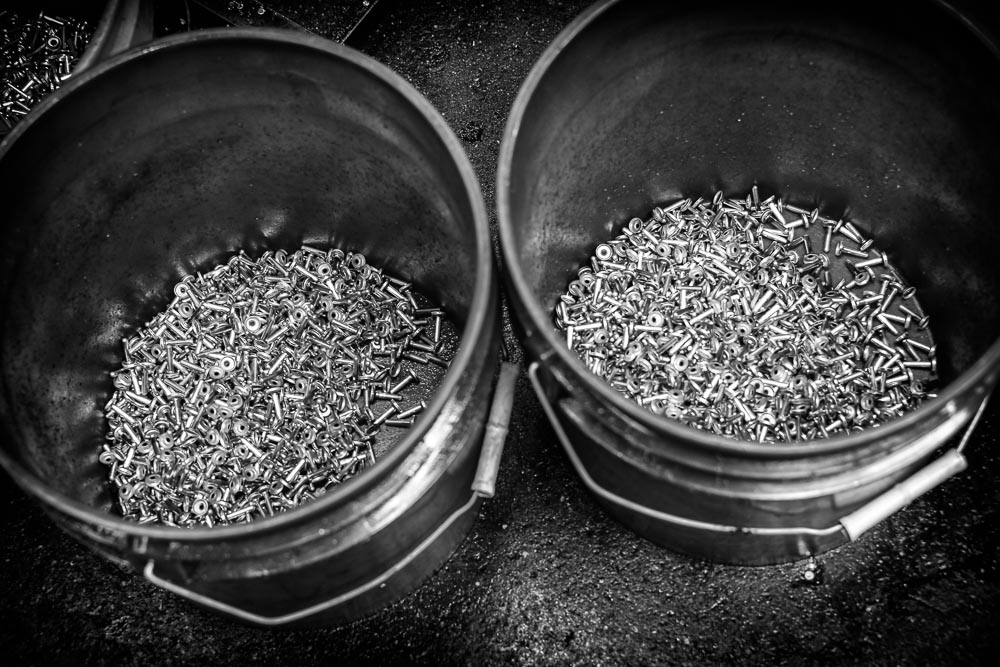
Everybody in the shop contributes to the quality and integrity of the products they produce. The Tool Room uses the set of gauges to “feel” and “eyeball” the precision of the dies and punches. A Rockwell machine is used for hardness testing of the carbide punches and dies. The press operator uses holding buckets for periodic “eyeballing” of the product for quality each hour during the run.
A comment is entered onto the run inspection sheets with time noted as well.
The tool makers are constantly checking tolerances and specifications as they repair presses or prep another press for some new product.
The point is that everyone is responsible for the success of the manufacturing process. These are men who have between seventeen years and over forty years at this Shop. As I spoke to each member of the Shop team, their eyes lit up with excitement and pride as they described to me how they performed their duties. Clearly, these are not jobs but rather careers.
A small piece of paper hangs on the wall in Warren’s office which says “Quantity is the enemy of quality”.
During mass production of products, it becomes too easy to become distracted and not do the proper quality testing. There must be a balance in order to succeed.
In addition to the gauges used for quality testing of each product, there are also two machines which help Warren do his job.
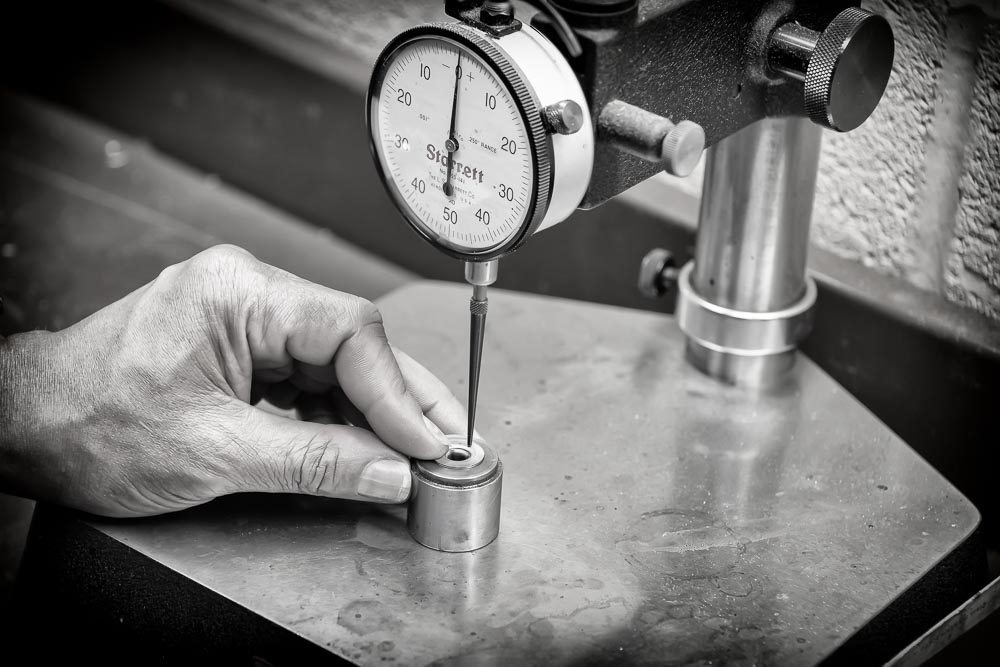
The first one is called the Starrett Indicator which, as the name implies, indicates the degree of surface flatness.
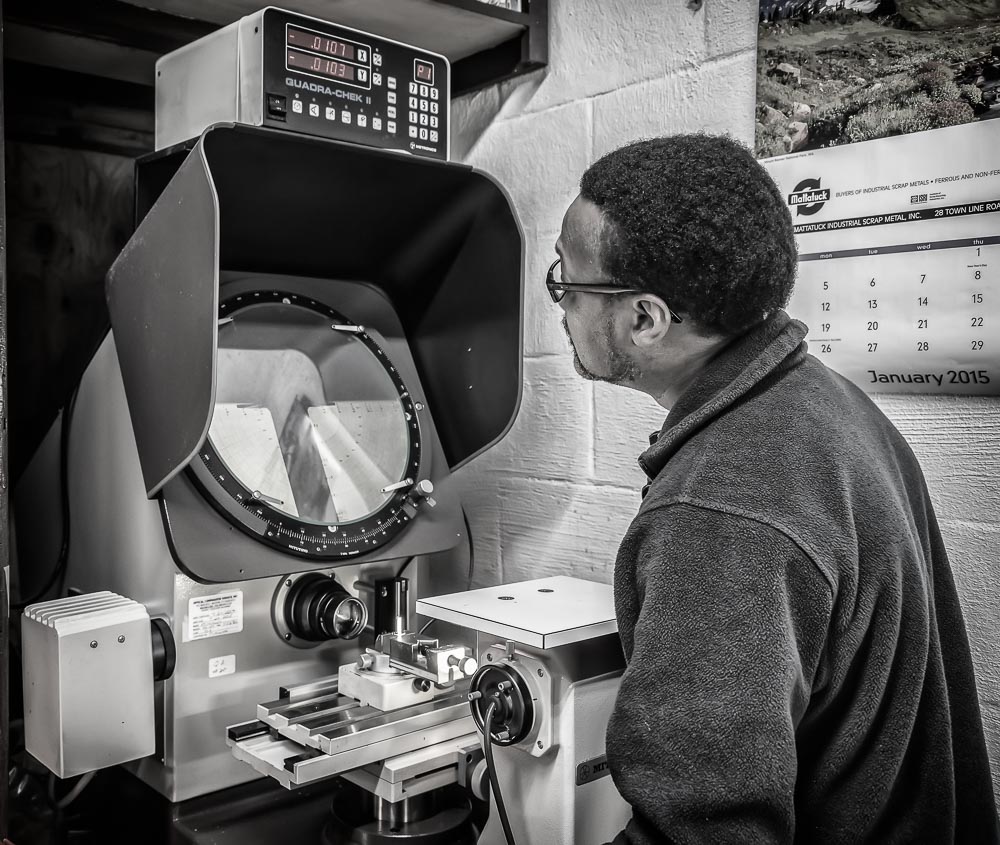
The second machine is called the Mitutoyo Comparator . This precision tool is responsible for comparing the radius of various features of the final product to the actual customer order specifications.
Stop by my blog again during the upcoming weeks as I continue to report on the progress of my new project!
Enjoy!


